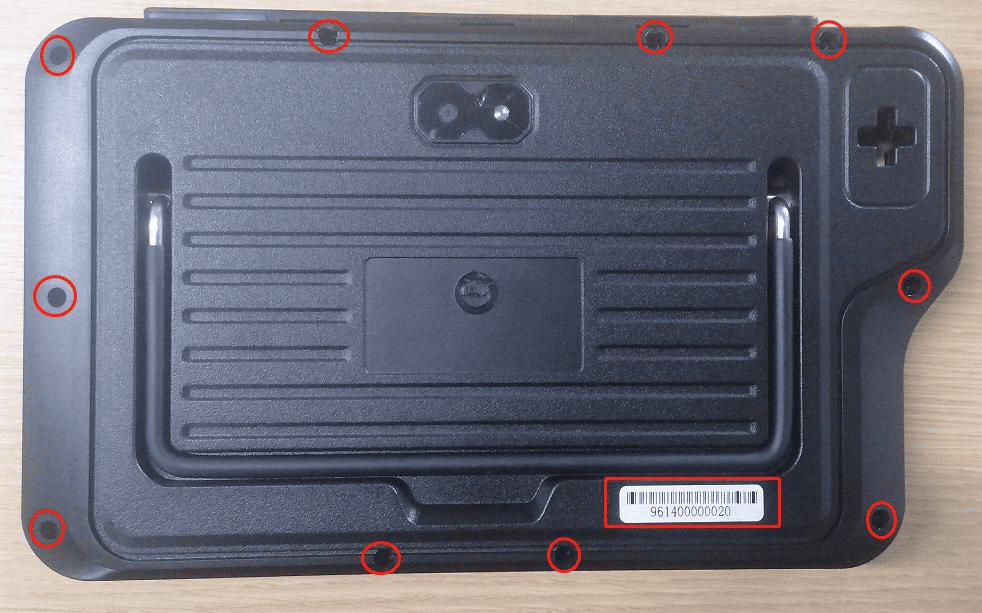
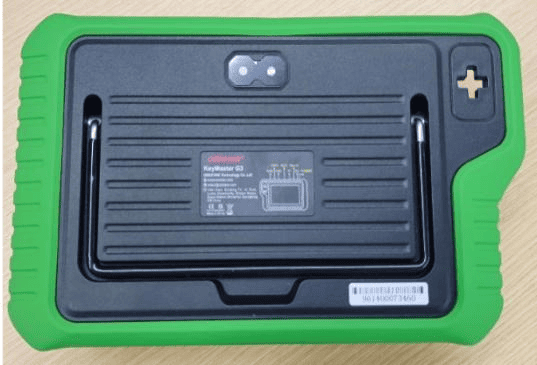
OBDSTAR KEYMASTER G3 Cannot Start Up Repair Guide
This guide demonstrates how to troubleshoot and repair an OBDSTAR KEYMASTER G3 that cannot start up. Check C75 resistance and replace damaged U17 and L8 components.
Step 1: Remove the rubber case. Then, use a screwdriver to loosen and remove the fixed jex screws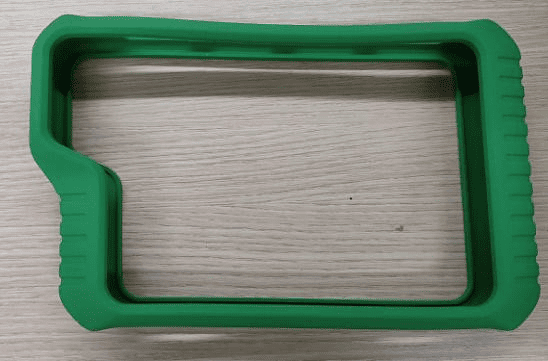
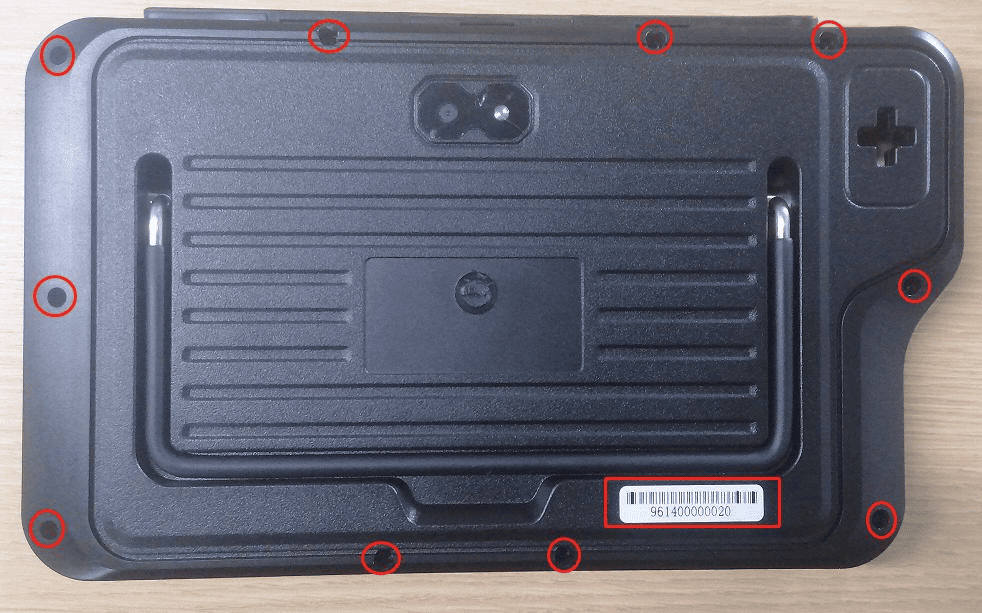
Step 2: Open the back cover and press down on the battery connector clip with your hand, then pull out the battery connector.
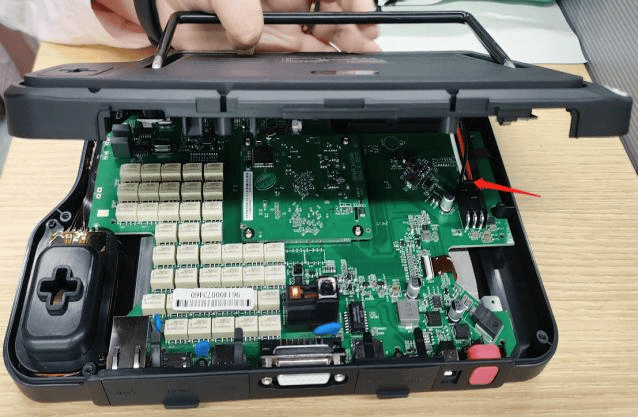
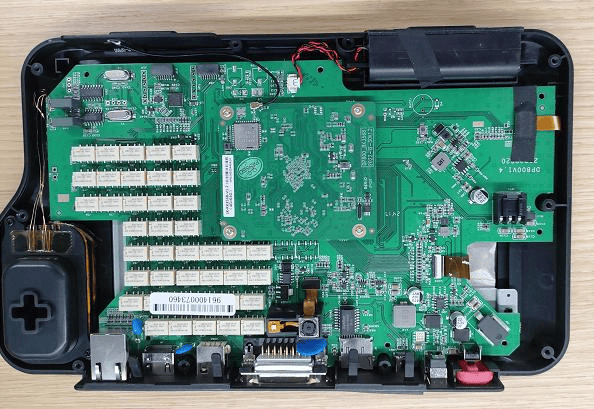
Step 3: Use a multimeter set to the ohms rang to test the two ends of capacitor C75. If the resistance is around 0Ω, it indicates that U17 and L8 are damaged and causing a short circuit. Replace U18 and L8.
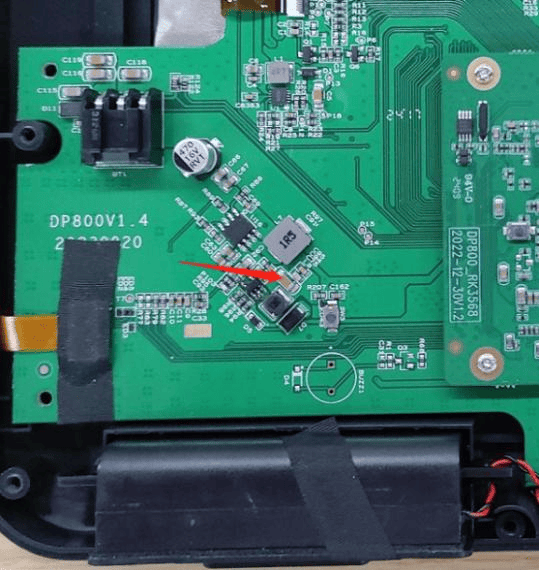
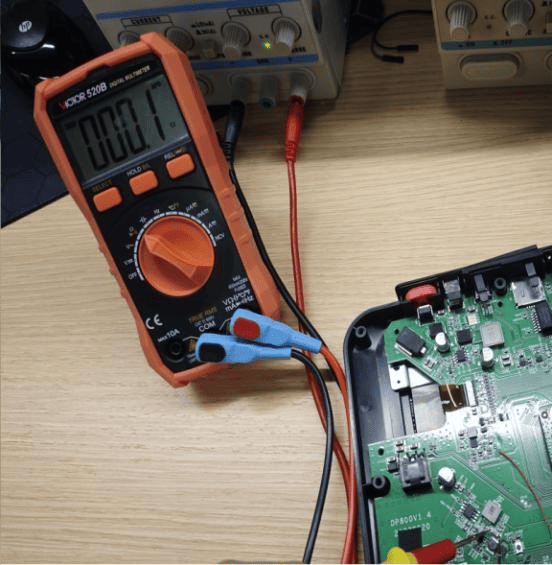
Step 4: Use a soldering iron or hot air gun with the temperature set to 350 ± 10℃ to desolder and remove U17 and L8 (Replace L8 with a 1uH indicator.)
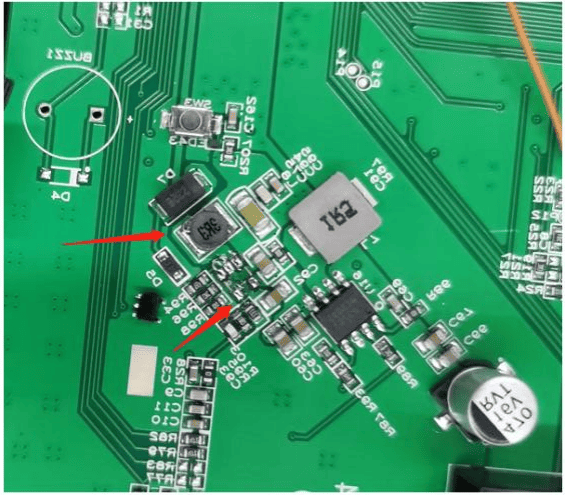
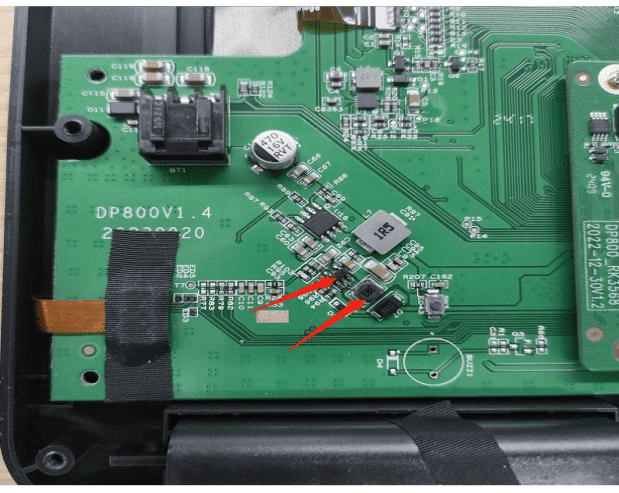
Step 5: After the replacement, use the multimeter set to the ohms range to test tht two ends of capacitor C75 again. If the resistance is approximately 1.36KΩ, it confirms that U17 and L8 have been successfully replaced.
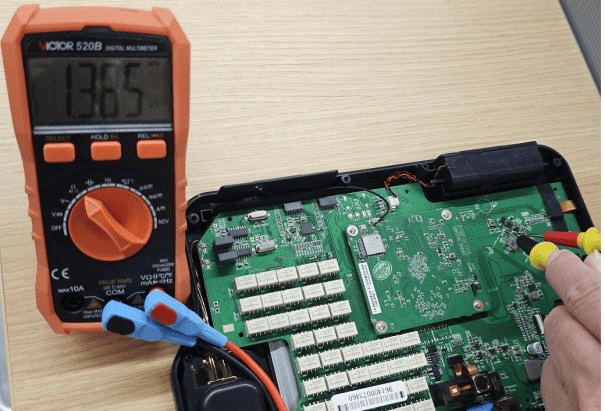
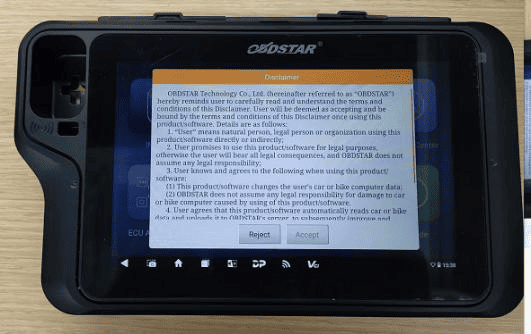
Step 6: Insert the battery connector, reassemble the back cover, and press the power button to turn on the device. If it starts up normally, the replacement is successful.
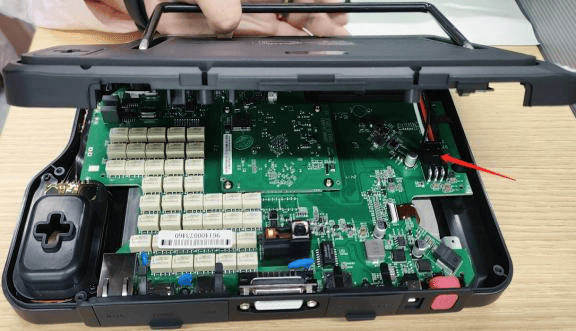
Step 7: Use a screwdriver to fasten the screws to the back cover, and put the rubber case back on. The replacement is complete